SiliconBrane Inc
Live Smart!
OSRM Setup with Docker
OSRM or Open Source Routing Machine is a routing engine for shortest paths in a road networks.
In this tutorial we will take a shortcut and install it using docker.
Now before we start deploying OSRM lets make sure we have Docker installed. If you don’t have Docker then you can follow the steps in this link to install it. Once Docker is installed OSRM deployment consists of two steps.
Step 1: Generate Routing Data
In this step the road network data is extracted from the OSM raw data and all the necessary mapping data is generated. This step is very process intense and RAM intense. I have processed the North America and just for that it took me over 80GB of RAM. For processing the whole world it takes about 256 GB of RAM according OSRM docunentation. I used a HP DL360 G7 server with 128GB of RAM with 24 active threads. As this step is so process intense and takes so much RAM I will upload my processed North American data if some one wants to skip this step.
Download Link (62GB)
If you want to process this step yourself the steps are below. Lets assume that the non sudo user name is kaushik as I will use that in this tutorial. Change kaushik with your non sudo user account. Lets start with making a directory and downloading the OSM data. Now in the directory name I used a car tag as there are other network data for bicycles and foot. We will only follow the car profile but if you want to change it to foot or bicycle all you have to do is change the car.lua with foot.lua or bicycle.lua in the first Docker instruction. Although just to point out foot and bicycle profiles take more RAM compared to car. Ok enough talk lets deploy OSRM. If you choose to download the processed data all you have to do is extract all the data in the ~/osrm_data_car and proceed to Step 2.
mkdir ~/osrm_data_car
cd ~/osrm_data_car
wget http://download.geofabrik.de/north-america-latest.osm.pbf
Next steps will be process instance and will take time depending on your used hardware. Make sure to change to right working folder path.
docker run -t -v /home/kaushik/osrm_data_car:/data osrm/osrm-backend osrm-extract -p /opt/car.lua /data/north-america-latest.osm.pbf
docker run -t -v /home/kaushik/osrm_data_car:/data osrm/osrm-backend osrm-partition /data/north-america-latest.osrm
docker run -t -v /home/kaushik/osrm_data_car:/data osrm/osrm-backend osrm-customize /data/north-america-latest.osrm
Once all these are processed all you have to do is run the back-end server which will serve routing data on port 5000
Step 2: Setting up the Backend Server
In this step we will install the back-end OSRM Docker server. To run the back-end Docker server it requires you to have about 32 to 36 GB of free RAM for North America data only. If you don’t have this much resources a smaller area can also be used to try this out. Run the below Docker command to deploy the OSRM Back-end Docker Server
docker run -t -i \
	--name OSRM_Backend_Car \
	--restart=always \
	-p 5000:5000 \
	-v /home/kaushik/osrm_data_car:/data \
	osrm/osrm-backend osrm-routed \
	--algorithm mld /data/north-america-latest.osrm
This is it. OSRM server is all set up and ready to go.
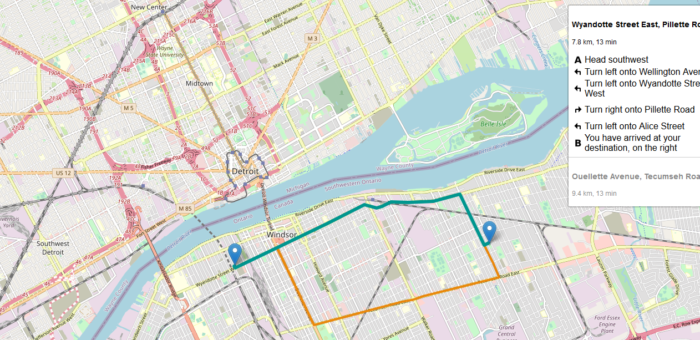
OSRM Front End
Now to see if/how the deployed OSRM server is working we can install a OSRM front-end Docker image. Although this step is not required but its a good way to test the back-end server. Run the below Docker commands to deploy the OSRM Front-end Docker Server.
docker run -p 9966:9966 \
	--name OSRM_Frontend \
	--restart=always \
	-e OSRM_BACKEND='http://<ip-address>:5000' \
	-e OSRM_CENTER='42.317432,-83.026772' \
	-e OSRM_ZOOM='13' \
	-e OSRM_LANGUAGE='en' \
	-e OSRM_LABEL='Car (fastest)' osrm/osrm-frontend
Once everything is working all you have to do is put the right IP address although or the server. I would suggest not to uselocalhost or 127.0.0.1. Next step is to go to your web browser and type http://<ip-address>:9966/ To make your own front-end one can use Leaflet Routing Machine library. May be I will make a tutorial on that sometime later.
Good Luck 🙂